There is a particular pleasure in finding a denim jacket that already has some miles on it: softened cuffs, a faded collar, maybe a mysterious repair near the elbow. Learning how to embroider a vintage denim jacket lets you add your own chapter without scrubbing away the history that made the piece worth buying. The goal is not to make an old jacket look brand-new. It is to give it a detail that feels as though it belongs there.
I have seen beautiful vintage Levi's Type III jackets ruined by rushing a design onto weak fabric, and I have made my own mistakes. Once, I placed a large flower directly over a pocket seam and spent an evening wrestling the hoop around the thick edge. The flower survived; my patience did not. A little planning would have saved both of us.
Start with the right vintage jacket
Before choosing thread, inspect the jacket. Hold it up to a window and look for thin spots, especially across the shoulders, under the arms, and around the pocket openings. Embroidery adds tension, so fragile denim can pucker or tear. A sturdy cotton jacket from the 1960s through the 1990s is often a good candidate, whether it carries a Levi Strauss, Lee, Wrangler, or less familiar union label.
Wash and dry the jacket according to its care label before stitching. Old denim can release loose dye, and you do not want a first wash to shrink the cloth around a carefully finished design. Use a gentle detergent, skip fabric softener, and let the jacket dry completely. If the fabric smells musty, deal with that first; covering an odor with dense thread only creates a more complicated problem.
Lay the jacket flat and mark possible locations with painter's tape. The upper back offers the broadest canvas, while a chest pocket, cuff, or sleeve gives you a quieter accent. Avoid stitching through metal buttons, rivets, zipper teeth, and heavy flat-felled seams. Those details are part of the jacket's construction, not obstacles to bulldoze through.
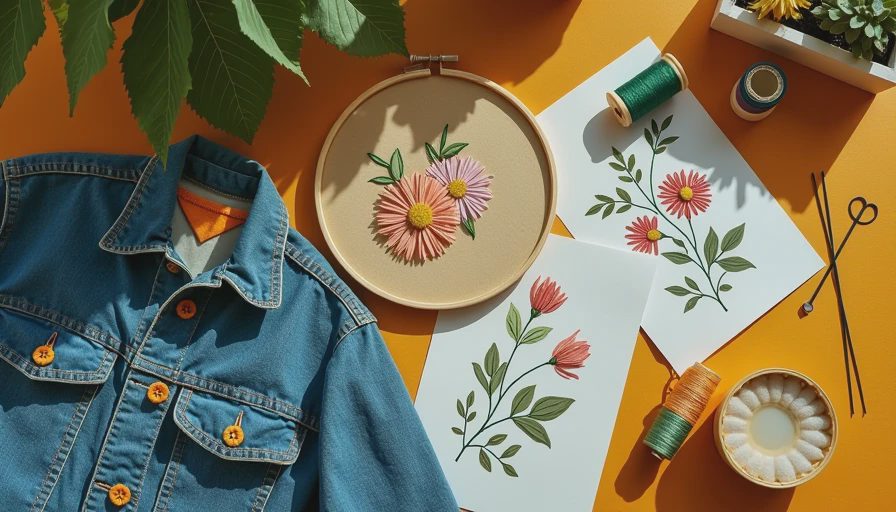
How to embroider a vintage denim jacket: tools and preparation
For a first project, gather embroidery needles in sizes five through nine, six-strand cotton floss, small sharp scissors, a water-soluble fabric pen, and a hoop that fits the chosen area. DMC floss is easy to replace and comes in a deep range of colors. A thimble is useful on heavyweight denim, though I usually prefer a rubber needle gripper when a stubborn stitch refuses to pass through.
A hoop keeps the fabric steady, but do not crank it tight enough to leave a permanent ring. Vintage denim can show pressure marks, particularly when it has been sun-faded or chemically softened. If the design sits near a seam, use a smaller hoop or stitch without one. Place a scrap of lightweight cotton behind the work if the denim feels loose. This backing supports the stitches and reduces puckering.
Transfer a simple drawing with a water-soluble pen. Test that pen inside the hem first. Some aged fabrics hold pigment longer than expected. For a design with lettering, remember that the back of the fabric is the reverse side; trace the words backward onto transfer paper or use a printed template designed for embroidery. A crooked word is charming only when it looks intentional.
Choose a motif that belongs to the jacket
The best embroidery ideas usually echo something already present. A faded western jacket can take a small desert star, horseshoe, cactus, or running horse. A military-inspired cotton jacket might suit a block-letter patch, a swallow, or a restrained laurel branch. On a light-wash jacket, rust, tobacco, cream, and dark green often feel more settled than a rainbow palette.
Scale matters. A design about three to five inches wide is manageable for a first back-panel experiment, while a one-inch motif works nicely above a pocket. Keep the number of colors limited to three or four so the stitches remain readable from across the room. Dense fill stitches can make a panel stiff, especially on a jacket you plan to wear while driving or reaching for a coffee cup.
Think about placement from the back and front. Put the jacket on a hanger and stand several feet away. A design that seems centered on a table can drift toward one shoulder once the jacket hangs naturally. Take a photograph before marking the fabric. It is an unglamorous step, but it catches mistakes before the needle does.
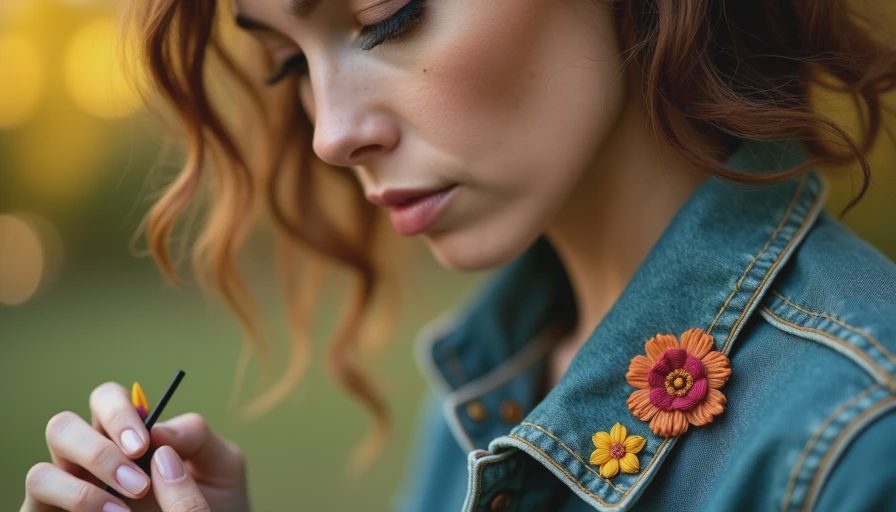
Stitching methods that work on denim
For outlines, use a backstitch with one or two strands of floss. Small, even stitches create a clean line without pulling hard on the fabric. A stem stitch gives vines and curved lettering a softer, rope-like edge. For leaves and petals, try satin stitch only after practicing on scrap denim; long stitches can snag, and uneven tension shows quickly on a flat surface.
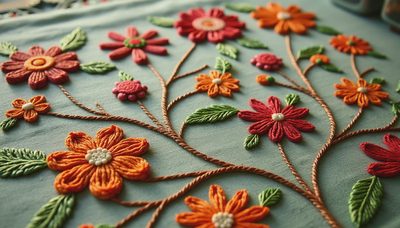
French knots add useful texture to flowers, stars, and small eyes, but avoid covering the whole design with them. A few knots give the motif dimension; dozens create a rough surface that catches on bags and car seats. Chain stitch is excellent for bold outlines and vintage-looking lettering, while lazy daisy stitches make quick petals without requiring advanced technique.
Work from the center of the design outward when possible. Turn the jacket frequently and check the front for puckers. Do not pull each stitch as tight as you can. The thread should lie on the surface with enough slack to follow the denim's natural movement. When you finish a color, secure it on the back with two small knots and trim the tail, leaving no loose strand long enough to tangle.
How to embroider a vintage denim jacket and keep it wearable
Once the design is complete, let the jacket rest overnight before removing the hoop. Gently rinse away any water-soluble markings with cool water, then press from the inside with a towel underneath the embroidery. Do not drag an iron across raised stitches. If you used backing, trim it close to the design without cutting the denim or thread.
Care is straightforward. Turn the jacket inside out, fasten buttons and zippers, and wash it in cool water only when necessary. Air-dry it on a sturdy hanger, away from harsh direct sun. Never yank at a snag; use a needle to ease the thread back into place. A little fading is part of the conversation between the old garment and the new work.
Most importantly, leave room for the jacket to remain itself. An embroidered cuff on a battered Lee jacket can be more compelling than a giant back piece on pristine denim. You are not decorating a blank canvas; you are collaborating with wear, repairs, and previous owners. That is the heart of how to embroider a vintage denim jacket with taste: listen before you add.
Final thoughts from the shop counter
Take your time, practice the motif on a scrap, and accept that handmade work will contain a few irregularities. Those small differences are what keep the result from looking factory-made. If your first line wanders, build the design around it instead of immediately reaching for a seam ripper. Some of my favorite pieces began with an almost-mistake.
When you understand how to embroider a vintage denim jacket, you gain more than a craft technique. You learn to read the garment's weak points, respect its construction, and add something personal without forcing a new identity onto it. Every stitch has a story.


No letters yet — be the first to write.