Hand embroidery on vintage garments is less about making an old jacket look crafty and more about listening to what the piece already has to say. A faded chore coat, 1940s rayon shirt, or worn denim trucker carries evidence of its former life in every softened seam and sun-faded panel. Add the right stitch in the right place, and you can extend that story instead of covering it up.
I learned this distinction after ruining a perfectly good 1960s cotton overshirt with an ambitious pocket design. The shirt had beautiful uneven fading and a Talon zipper that still moved like it had somewhere to be. I treated the back panel like a blank canvas, which it was not. The result looked like a craft project sitting on top of a garment. Every stitch has a story, but not every story needs a loud ending.
Start With the Garment, Not the Design
Before considering hand embroidery on vintage garments, inspect the fabric under good light. Look for thinning elbows, brittle seams, old repairs, and areas where the weave has loosened. A sturdy cotton twill or medium-weight denim can usually support decorative stitching. Fragile rayon, silk, loosely woven linen, and aged knitwear require more restraint, and sometimes the kindest choice is not to embroider them at all.
Study the garment's original details. A union label, chain-stitched name, shell button, or workwear brand such as Lee, Levi's, or Pointer can point toward a visual language. Western shirts invite florals, desert shapes, and curved yokes. A military surplus jacket can handle a small map, unit-inspired geometry, or simple botanical work. That does not mean inventing a fake history. It means choosing a design that feels at home with the construction.
Wash or clean the item according to its fiber and condition before beginning. You do not want a stain to appear after the design is finished, and you do not want to discover shrinkage beneath your carefully measured motif. For a valuable or especially delicate piece, test the thread and needle on an inside hem first.

Choosing Thread, Needles, and Stabilizer
Cotton embroidery floss is the easiest place to start, but it is not automatically right for every garment. Six-strand floss can be separated into thinner bundles, giving you control over coverage. Two strands create a fine line on a lightweight shirt; four or six strands make a bolder mark on denim. Pearl cotton has a rounder, more pronounced texture and works well for visible accents on canvas or work jackets.
Match the needle to the fabric. A sharp embroidery needle slides cleanly through woven cotton, while a ballpoint needle is safer for some knits because it separates fibers rather than cutting them. Keep the needle slim enough to avoid leaving permanent holes. Vintage fabric has already endured decades of wear; it does not need a wrestling match with your supplies.
A lightweight fusible stabilizer can support a weak area from the inside, but use it carefully. Heat can damage old synthetics, and adhesive can change the hand of a soft fabric. A temporary cotton backing or loosely basted scrap is often a gentler solution. The goal is to distribute tension, not turn the shirt into cardboard.
Designs That Look Like They Belong
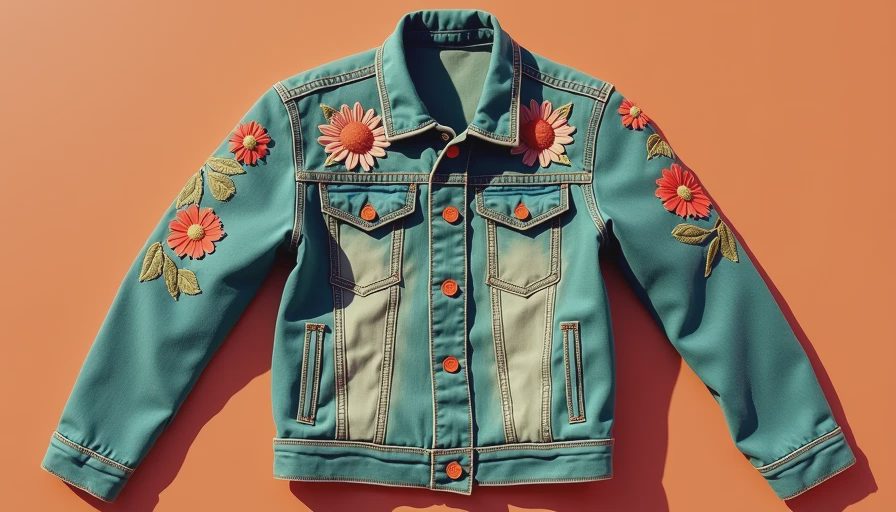
The strongest hand embroidery on vintage garments usually has a clear relationship to the garment's shape. Follow a pocket curve, echo a collar point, or place a small motif above a cuff. A repeating border along a placket can look intentional without overwhelming the original design. On denim, a single red flower near a repair may feel more convincing than a full garden across the back.
Look at old examples for proportion rather than copying a particular maker's work. Early workwear repairs were practical, while mid-century leisure clothing often used cheerful florals, rockets, leaves, and abstract shapes. A small 1950s-inspired star on a bowling shirt can work beautifully, but covering the original bowling logo changes the garment's identity.
Color deserves equal attention. Pull one shade from an existing detail, such as a tobacco thread, faded blue, or cream button. Contrast is useful, but extreme contrast can make new work look pasted on. I often prefer two or three colors, especially on a garment with strong age variation. Slightly muted DMC shades tend to sit more comfortably beside vintage fabric than bright, untouched primary colors.
A Practical Method for Hand Embroidery on Vintage Garments
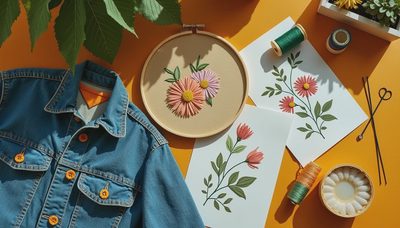
Begin by sketching the design on tracing paper or a washable transfer sheet. Place it on the garment and step back. This is where you catch the motif that seemed charming at a desk but looks strangely low on the chest. Mark the center line, pocket edges, and major seams before transferring anything.
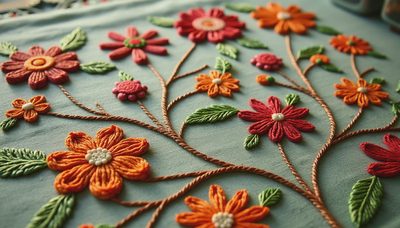
Work from large shapes to small details. Outline leaves with a backstitch, fill broad areas with satin stitch only when the fabric is stable, and use a lazy daisy or French knot for small accents. On denim, split stitch and running stitch are forgiving and durable. Avoid pulling each stitch tight. The fabric should remain flat and relaxed when you remove it from the hoop.
For hand embroidery on vintage garments, hooping can be the tricky part. A tight hoop may leave a ring or distort a fragile weave. If the garment will not fit comfortably, embroider through a temporary backing while keeping the cloth supported by your hand. Take frequent breaks and inspect the reverse side. Long floats, tangled thread, and knots against the skin are signs to slow down.
Repairs, Imperfections, and Personal Meaning
Embroidery is especially useful when it works alongside an existing flaw. A small moth hole near a hem can become the center of a flower, while a worn knee on vintage painter pants might receive a restrained geometric patch. Do not disguise every mark. Fading and mending are part of the appeal, and a repair that remains visible can look more honest than a perfect cover-up.
One of my favorite jackets at the shop is a sun-softened canvas chore coat with three dark blue stitches around a tiny tear. That is all. The repair is practical, but the uneven thread makes it feel personal. A customer could add initials, a date, or a larger motif later, yet the jacket already has enough character to avoid decoration for decoration's sake.
If you are giving an embroidered vintage garment as a gift, consider the wearer's actual habits. A design near a backpack strap may abrade quickly. A raised knot at the inside cuff may irritate the wrist. Placement is not just an aesthetic decision; it affects whether the piece gets worn or remains precious in a closet.
Caring for the Finished Piece
Allow the embroidery to settle for a day before washing. Turn the garment inside out, use cool water, and choose a gentle detergent without bleach or optical brighteners. Hand washing is safest for fragile materials, while a mesh bag and delicate cycle can work for sturdy cotton. Avoid wringing. Press out water with a towel and dry the garment flat or on a broad hanger, depending on its structure.
Store embroidered vintage clothing away from direct sun and crowded hangers. Strong sunlight fades both old fabric and new thread, while compression can crease the stitched area. If the garment develops a loose thread, do not pull it from the front. Secure it on the reverse with a small knot or take it to a repair specialist.
Hand embroidery on vintage garments should leave you with something wearable, not merely impressive in a photograph. Start with an inexpensive overshirt, use a small motif, and learn how the cloth responds. The best alterations feel as if they have been waiting there all along: considered, useful, and just a little unexpected. That is the pleasure of working with old clothes. Every stitch has a story.

No letters yet — be the first to write.